
Installing Zabbix on the OpenWRT router is just a bit more complex but not too difficult. The process is similar to installing on pfSense. The difference is it does not present a GUI from which you can configure the agent. These changes need to be made via SSH.
First log into the web GUI and navigate to the “System” tab at the top, then down to “Software”.
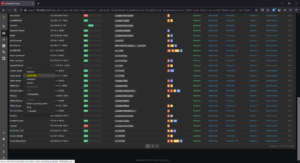
If no package options are shown like the image below you will need to click on the green “Update lists” button. This will acquire all of the available package data from the package repository. 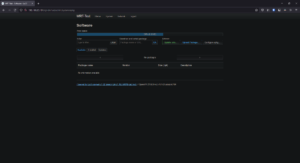
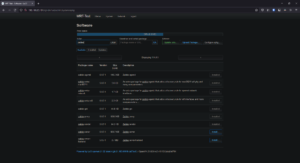
Now that we can see all the available packages, we will need to filter for Zabbix. We will need to install:
zabbix-agentd, zabbix-extra-mac80211, zabbix-extra-network, zabbix-extra-wifi, zabbix-get, zabbix-proxy, and zabbix-sender.
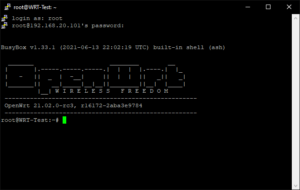
Once they are installed we will need to configure the agent by logging into the router via SSH. Open Command Prompt (ssh root@[IP address])or PuTTy. (By default, root does not have a password, so you can just hit Enter)
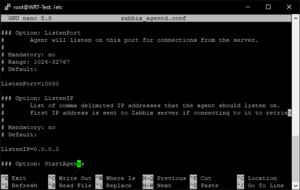
Once logged in you can navigate through the directories and make any changes you’d like. To find the Zabbix agent configuration file, run the following commands:
cd /etc
OpenWRT does not have “Nano” installed by default so we need to first install it using the command below:
opkg install nano
Now we can view and edit the config file using:
nano zabbix_agent.conf
The parameters we will need to fill in are already in the file, they just need to be made active with the removal of the “#”. We will need to change the Server, and Server Active IP, the Listen Port, Listen IP, and the Hostname. The Server, and Server Active IP are going to be the firewall’s IP address. The Listen Port is going to remain the default which should be 10050. Listen IP will remain the default 0.0.0.0. Finally, the Hostname needs to be the exact name in the Zabbix server as it is in the configuration file.


Once those changes have been made, press Ctrl+X, then press “Y”, then “Enter”. This will save your changes.
Finally, we will want to restart the agent service to start up the communication between the agent (router), and the server (firewall). To do this, run the following command:
service zabbix_agentd restart
The agent should now be submitting data to Zabbix. To verify that it is working, head over to the Zabbix dashboard and navigate to Monitoring > Hosts.

If you click on the host, a small menu will appear showing the viewing options for the host. Click on Latest Data.
Here you will find (you guessed it) all the latest data submitted by the agent you configured. Seeing information on this page let’s you know you set it up right.